
A staple strip can match a catalogue series and still fail in the intended tool when crown geometry, leg length, collation, strip length or magazine condition differs. A useful pre-order trial therefore starts with the exact stapler and an identified strip sample. It ends with a retained sample and a repeatable feed record, not a single successful shot.
O industrial staples product page lists 16 industrial series, including 80, 90 and 71, plus leg lengths from 4 to 25 mm. It also describes galvanized, copper-coated and stainless options. Series identity, crown and leg length must be matched to the tool and material stack rather than inferred from appearance.
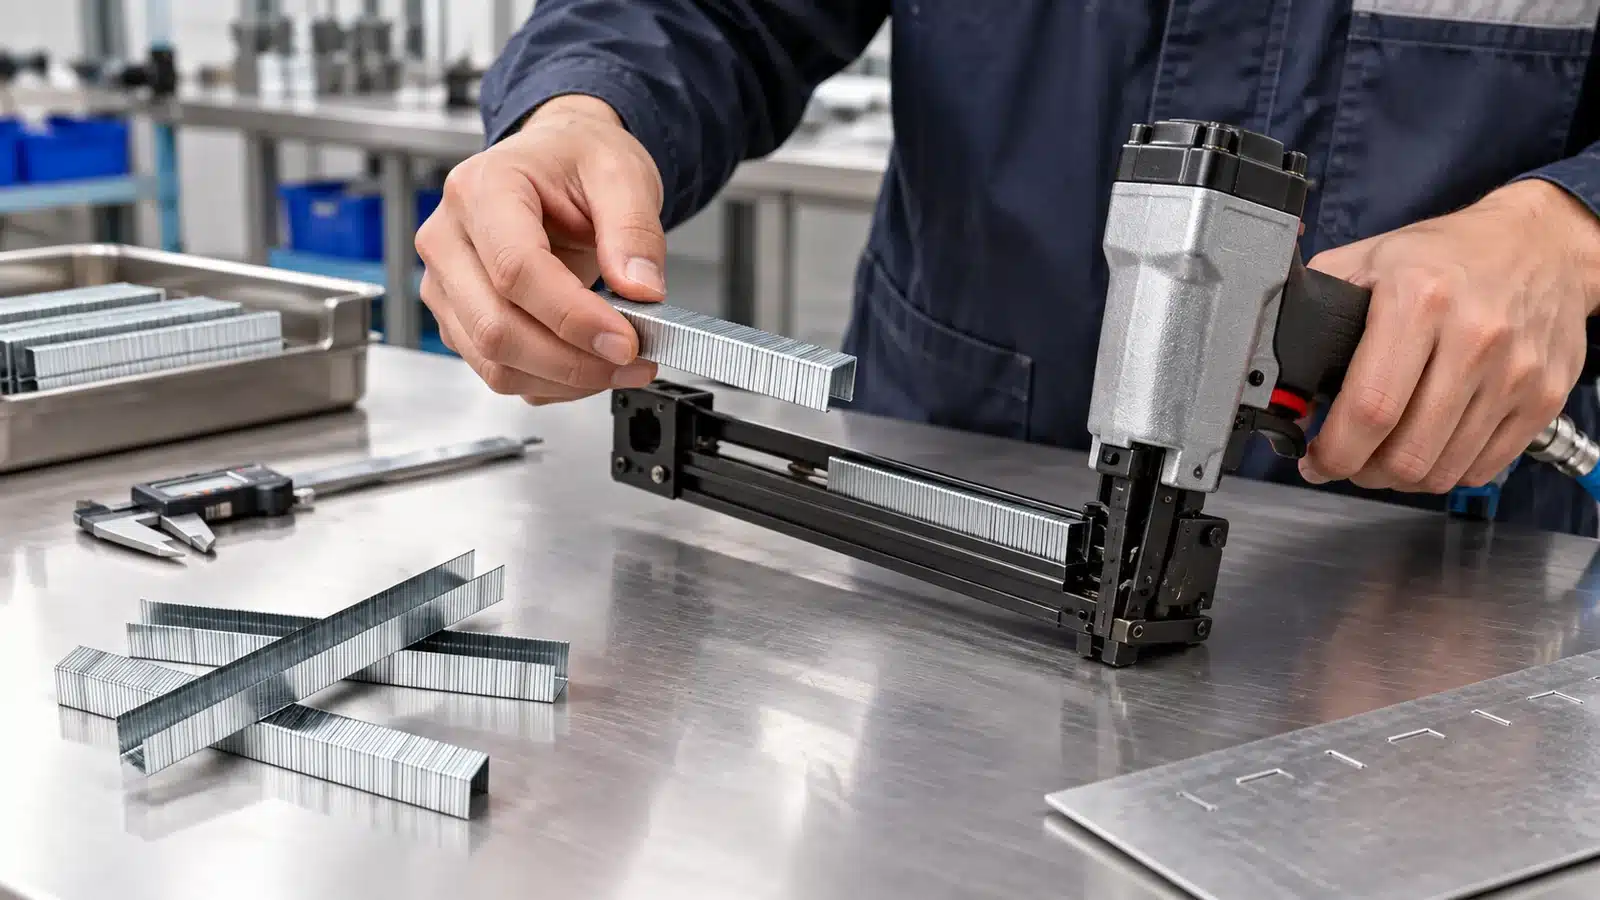
Bind the Strip to One Tool
Record the stapler manufacturer, model, magazine type and service condition. Photograph the tool label, magazine and follower. Label the staple sample with series, crown width, leg length, wire profile, material or coating, collation and production lot. If any field is pending, keep it open on the trial sheet instead of filling it from a similar strip.
The earlier staple leg-alignment inspection provides a useful incoming check for parallel legs, point direction and crown shape. Complete that check before loading the sample so a damaged strip is not mistaken for a tool-compatibility failure.
Check Magazine Fit Before Cycling
Place the unpowered tool on a controlled bench and follow the tool maker's loading procedure. Check that the strip seats in the rail, the crown orientation is correct, the follower engages and the remaining strip length stays clear of covers and latches. Record the actual number of staples in the test strip because collation and packaging can change how a strip behaves near its end.
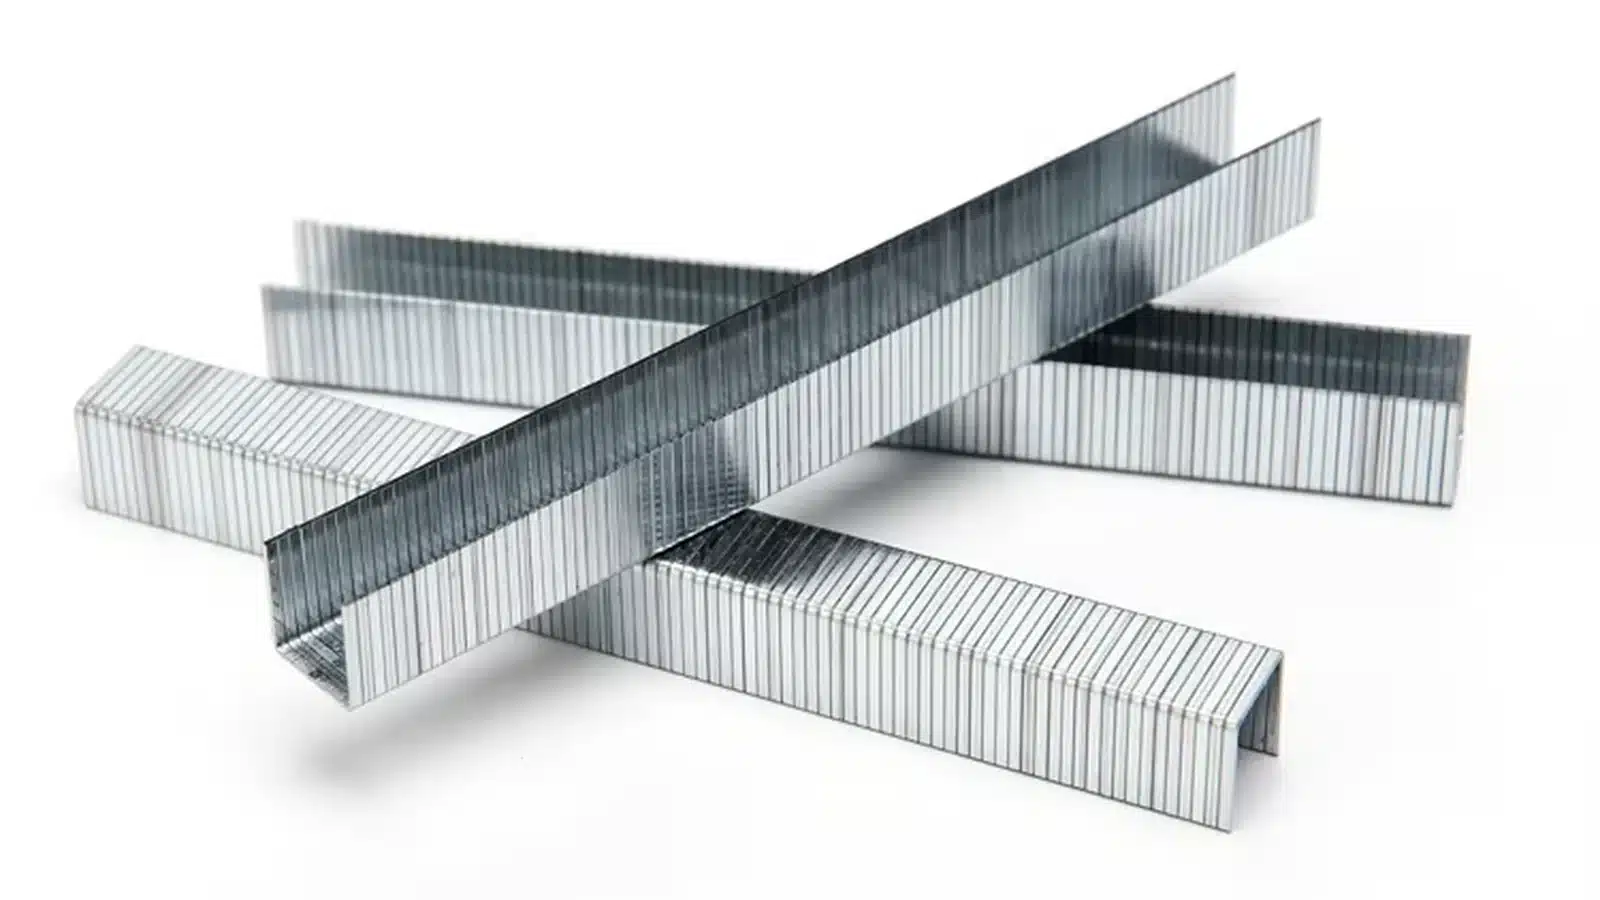
Compare several strips from the same lot. Look for broken adhesive, bent crowns, uneven spacing or a joint where two strips have been combined. The magazine should close and the follower should travel without force beyond the normal operating method. Any interference becomes a measured exception with photographs.
Run a Representative Feed Sequence
Use the intended substrate and joint stack. Mark the seating target and surface-appearance limits before cycling. Record the air or power setup specified for the tool, the test sequence, operator and number of fasteners fired. Separate feed events from fastening results: a misfeed, follower hesitation or damaged crown belongs in one column; seating depth, pull-through or material marking belongs in another.
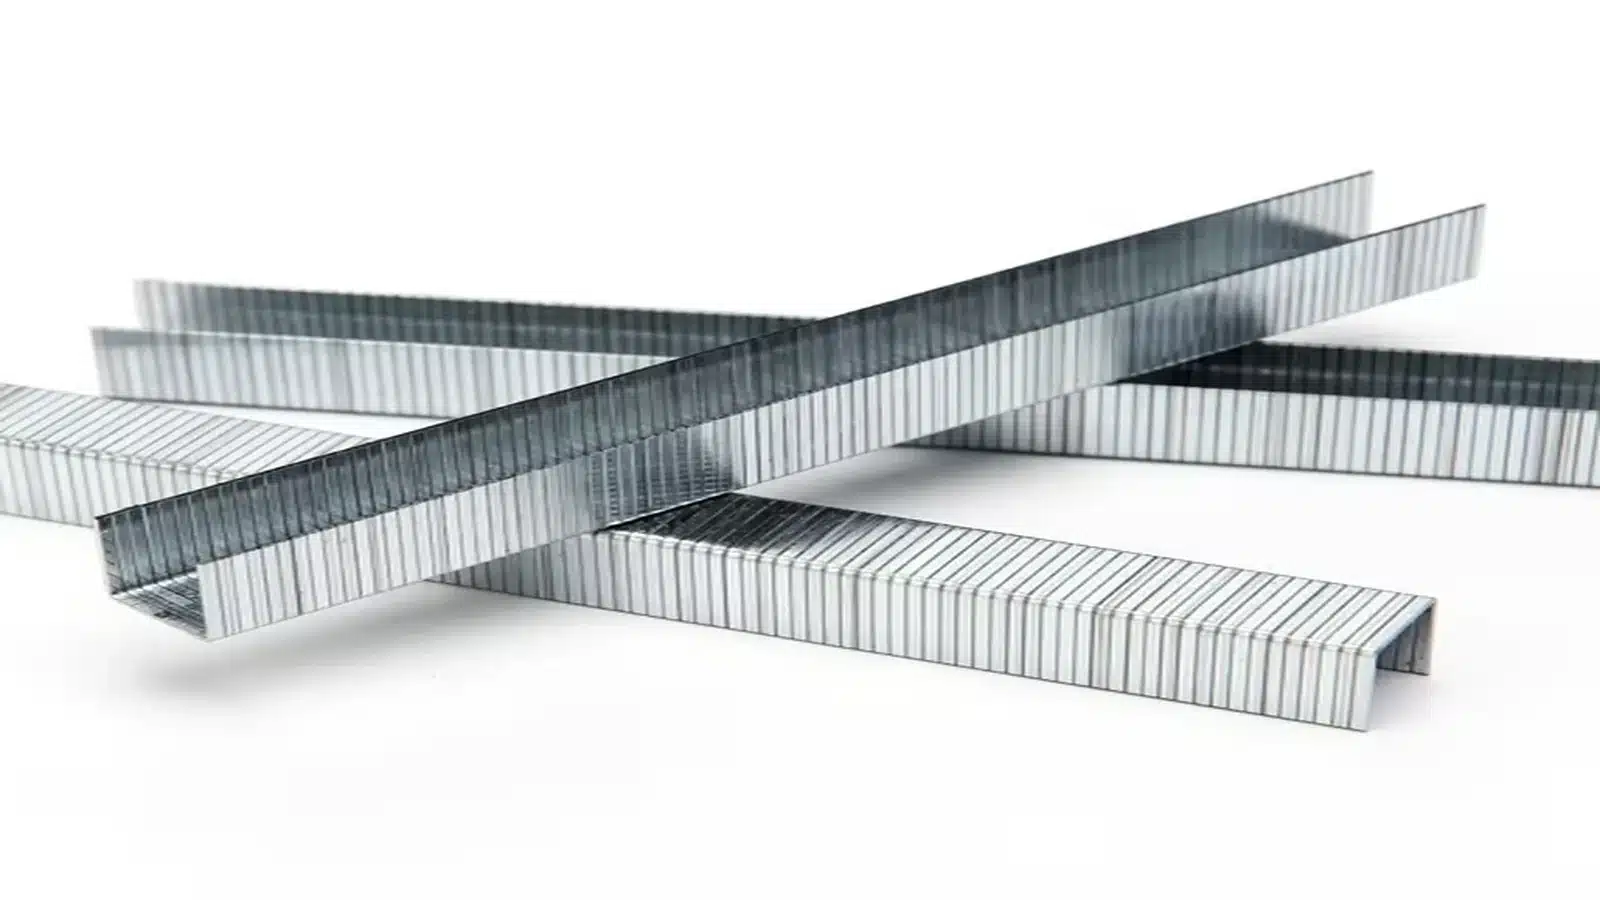
Test the beginning, middle and end of more than one strip. Include normal pauses and reloads. A trial that covers only the first few staples can miss end-of-strip behavior, broken collation or an inconsistent strip joint. Stop the run when the tool procedure, sample identity or safety condition becomes uncertain and assign the issue for review.
Approve the Whole Combination
The release record should name the tool, approved staple series, crown, leg length, material, coating, collation, lot, material stack and trial setup. Retain accepted and rejected examples with the signed record. A new tool model, staple dimension, coating, collation, substrate or supplier lot should reopen the affected checks.
This approach prevents a series number from becoming a blanket compatibility claim. It gives purchasing, production and the supplier one exact combination to reproduce for a pilot or bulk order.
Related Industrial-Staple Controls
- Compare narrow-crown and wide-crown industrial staples
- Inspect staple-strip damage at receiving
- Verify a staple reorder against the retained sample
Request a Magazine-Feed Review
Send the stapler make and model, required series, crown and leg dimensions, strip sample, material stack, cycle rate and acceptance limits through the FastenerNails inquiry page. Ask for the quoted staple and trial sample to share one traceable specification.
 Portuguese
  English
  Arabic
  Spanish